Entralac in the Round Afghan tutorial
People have asked what pattern I used for my first afghan and my simple reply is none. It's a technique not a pattern. A kit was sold years ago through Herrschners to get the technique instructions with all the yarn needed to make an afghan, but, they have been contacted before. They do not sell the afghan and it is not copy righted. I was actually taught through word of mouth how to do this technique, it's what got me interested in crocheting.
All you need in skills are the following
Tunisian Simple Stitch (some what explained in this tutorial) - TSS
Chain - ch
Slip Stitch - ss
Supplies
Standard crochet hook , I used a size I here (mm size isn't necessary you just want a hook 1-3 sizes larger then recommended on yarn)
30oz WW yarn for a pram cover
needle for weaving in ends
To Start:
Step 1: deciding what size to make. For a pram cover I make 2 initial diamonds, for a baby afghan or crib blanket I start with 3, for a throw or twin sized afghan I start with 7. You will get use to this technique and be able to make that decision on your own. I'm going to start you on a pram cover (stroller cover or just a smaller baby blanket)
For each diamond you want to chain 10 stitches, since we are doing a pram cover we want 20 stitches, then add one to the end of your count ( 2 diamonds = 21 chain, 3 diamonds = 31chain, 7 diamonds = 71 chain...)

Step 2: TSS beginning.
Insert hook in second chain from hook, yarn over and pull up a loop. Now insert in next chain, yarn over and pull up a loop. Repeat this 4 more times until you have 7 loops on your hook.

Yarn over and pull through 2 loops on the hook, you will have now 6 loops left on your hook . Yarn over and pull through 2 loops on hook, you now have 5 loops on hook. Yarn over and pull through 2 loops on hook, you now have 4 loops left on hook. Yarn over and pull through 2 loops on hook, you will now have 3 loops left on hook. Yarn over and pull through 2 loops on hook, you will now have 2 loops left on hook. Yarn over and pull through 2 loops on hook, you will have one remaining loop on hook.
This is the basic Tunisian Simple Stitch or TSS, see not so scary or hard to achieve and I promise after even a pram cover in this stitch you'll get really good at gauge. The individual diamonds are small though so keep going as gauge isn't a huge concern for this project and it will come to you. Also, given the texture TSS creates the blanket becomes busy and you don't notice changes in gauge or mistakes very easily.
Step 4: the next row
Now look at the work. You should see it looks different then regular crochet work. There are vertical bars visible on the front of the stitch comprised of just one strand of yarn. You want to insert your hook under this bar, yarn over and pull up a loop. Repeat this across until you have 6 loops on the hook.


Step 5: Binding Off
Since Tunisian is related to Knitting similar terms are used. If you do knit you will be able to see the similarities in techniques between the two.
Now to bind off, you have one loop on your hook. Place hook under next vertical bar, yarn over and pull through, now pull that through the 1st loop you had on the hook as well as if completing a slip stitch.

Do this across 5 times, when you get to the corner you want to insert hook in same chain as the last stitch was made, yarn over and ss to bind off.

You have completed your first diamond!
Step 6: Next (an subsequent) diamond (s)
You can see in this image I am pointing to the next unworked chain.

Insert hook into this unworked chain, yarn over and pull up a loop. Repeat this 5 more times until you have 7 loops on the hook. Now you simply repeat step 3 working off the loops.

Keep going repeating steps 2-5. When you get to step 5, binding off and you are at the last stitch, insert hook in the one last remaining unworked chain ss and fasten off.

You have completed your foundation row of diamonds!
Step 7: Adding a second row of diamonds

You want to attach your yarn into the upper corner of one of the diamonds. I suggest doing this to the diamond on your right if you were to lay the piece out flat in front of you.
You have many options here as well, there are no rules. You can now make each round a different color or the same color, you can make each diamond a different color (though you'll have a massive amount of ends to weave in) you get to decide. Here I used baby blue for the foundation row and switched to white for the second row of diamonds.
Now work the TSS across utilizing the vertical bar on the diamond from the first row of diamonds.

Work until you have 6 loops on the hook. When you get to the next diamond insert your hook into the corner where the 2 diamonds on the first round meet. Yarn over and pull up a loop, then complete step 3, working off the loops.


You are going to continue this for 4 more rows, when you place the 7th loop on the hook you will be going into the next row of diamonds on the foundation row, yarn over, pull up a loop and then working off the stitches.

Complete the bind off from step 5 and you have added your first diamond to the second row of diamonds.
Step 8: working a corner
Now you are at the corner of your piece as you see in the image just above. You need to create a foundation row of chains to be able to work the TSS.
Chain 6 from where you presently are. It will look like the image below

This will now be a combination of how you worked the TSS on the base chain as well as how you worked the last diamond you just completed.
Insert hook into2nd chain from hook, pull up a loop and go across repeating the TSS until you have 6 loops on the hook.

Now you will insert the hook into the corner where the blue and white are meeting in this above image. Yarn over, pull up a loop then repeat step 3 to work loops off.
Now repeat step 7 until you have formed another diamond.

You have completed your second diamond and worked a corner.
Step 9: you need to work another corner as in step 8

Step 10: work another diamond as you did in step 7

Step 11: work 2 more corners as you did in step 8

When you get to the bind off on the last diamond, ss into the corner to join it to the bottom corner of the very first diamond you made and then fasten off.

You have now completed the second round. You will continue adding round after round in the same manner until the afghan is the size you desire. For a pram cover I work the foundation of diamonds then 10 more rounds of diamonds. You have the flexibility to chose how many though you will see the afghan grow.
At the very end you may chose to do a sc around the edge to control some minor curling you will get from the Tunisian stitch. After laundering the curling eases up a bit but will always be there if you don't sc. I prefer to hold the wrong side to me and sc around, I find this controls the curl the best instead of holding the afghan right side to me and sc around.
Notes:
This is not a stash buster per say. As the afghan grows you will require larger and larger amounts of yarn for each round. If you have 1-2 skeins of a color you can work a round in it, but, I really prefer to have all the yarn I would like to begin with, you don't want to be working on the 20th round of diamonds, get 1/2 way around and then run out of yarn if you intent was to make that whole round in one color. You will literally be ripping out thousands of stitches at that point.
I don't use cotton or wool, I find this is best for acrylic yarns. The fabric created is very dense! A twin sized afghan is warmer then most down blankets I own If you're taking a trip to the Arctic circle, wool may be for you, however, you will find even on the coldest winter day it would be too much. As for 100% cotton, well being so dense the laundering of an afghan in cotton would be impossible in a regular machine, it's far to heavy and when wet actually broke one of my machine belts (learned from trial and error), also the texture created I don't find lends itself well to cotton over the long run. It works alright on a pram cover and possibly crib sized afghan but on a larger afghan the cotton starts to untwist with wear and tear.
These take awhile to make even for fast crocheters. This was the first thing I ever learned to crochet so in the beginning a twin sized afghan took me about 1100 hrs to complete. I then went on and made many more before going insane because I knew no other stitch or how to read a pattern. Now, years later, crocheting much faster, a twin takes me about 400-500 hrs to complete. That would be about 2 months, working at this for 8 hrs a day. It's well worth the effort, but, don't get dismayed. In the beginning it will go fast as the first few rounds don't have many diamonds, as you go along and you have say 150 diamonds to complete in one round, it takes longer to do then the second round where you had 6 diamonds. It will finish eventually and the nice thing about the unique edge created is that you can really stop where ever you like and keep the full effect.
Any questions leave a comment or email me and I'll help the best I can.
I have been thinking of making another myself. If anyone wants to be part of a CAL (crochet a long) please leave a comment, if there's enough interest I'll start one.
Labels: Entralac Afghan
posted by Buggy @ 9:22 PM
38 Comments
![]()
![]()


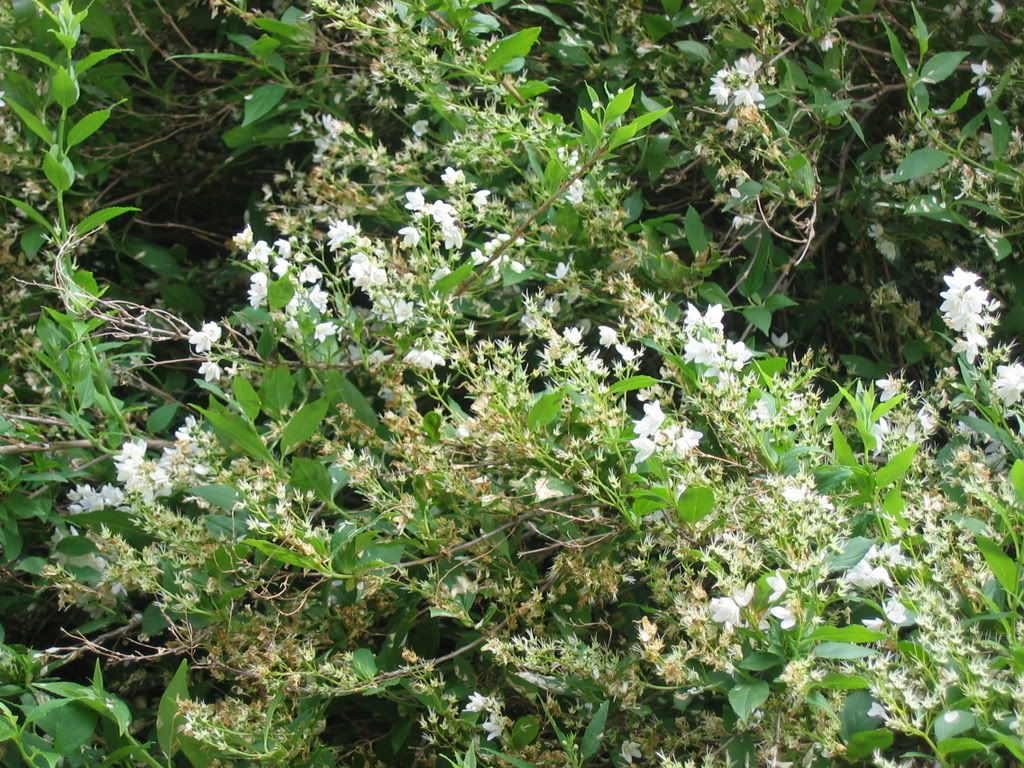 close up and then the whole thing
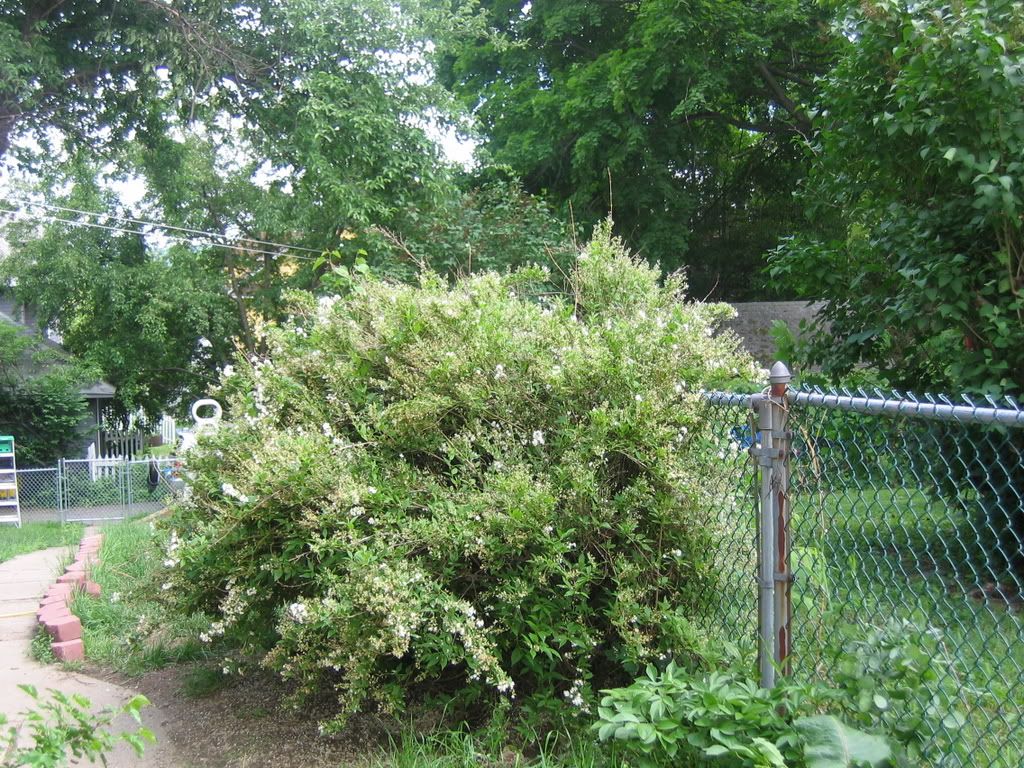
 these are on the left side of the house, I believe azaleas
 no idea what these are I refer to them as the snow balls
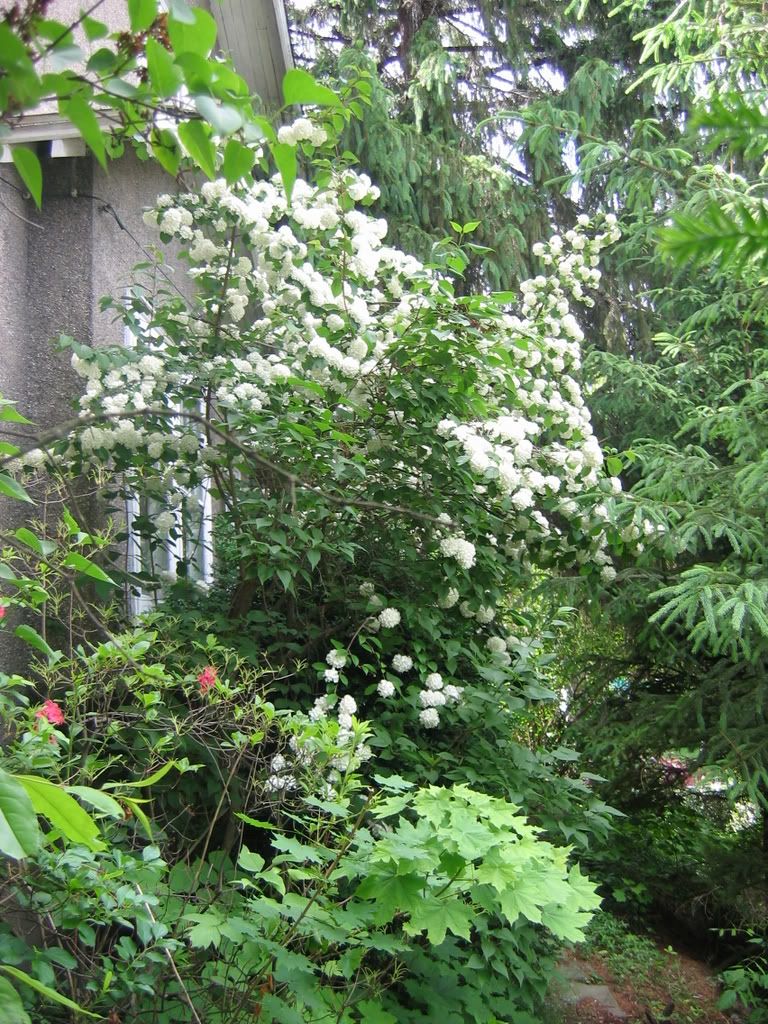 sorry it's side ways blogger wasn't letting me upload images.
 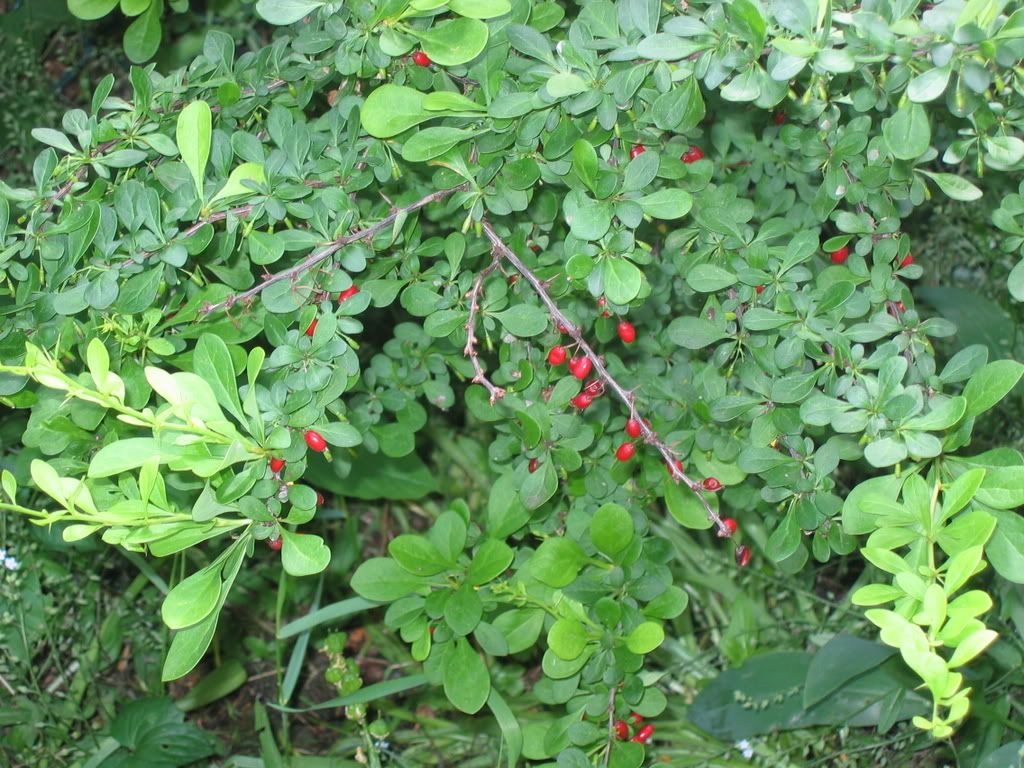 holly?
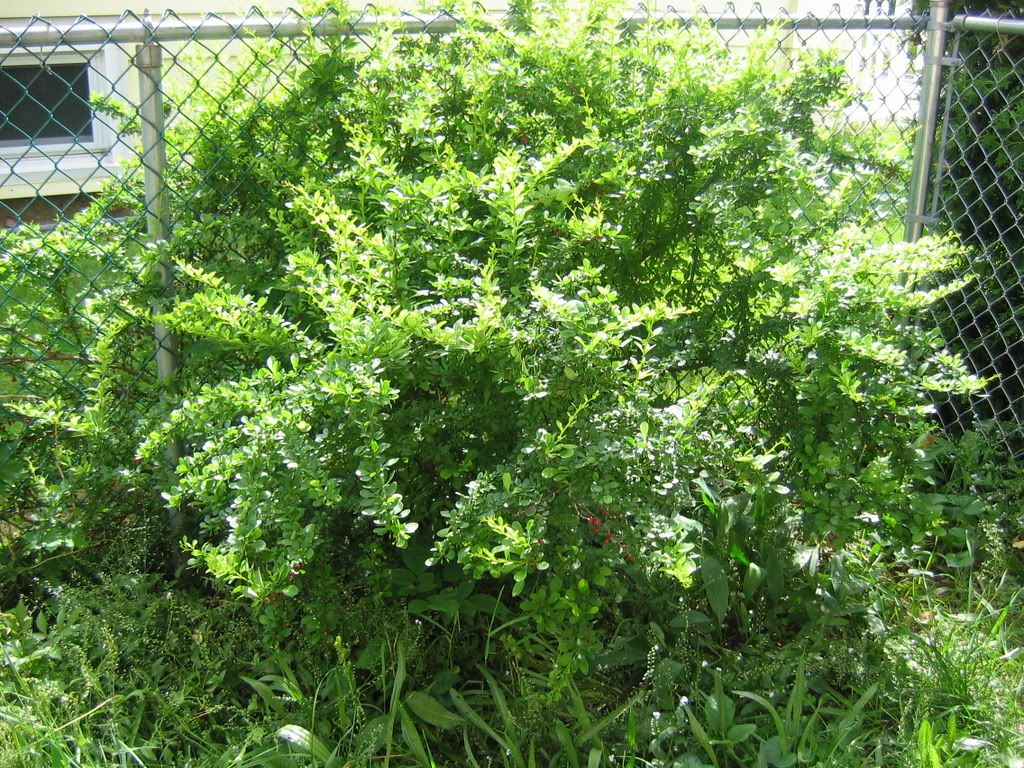
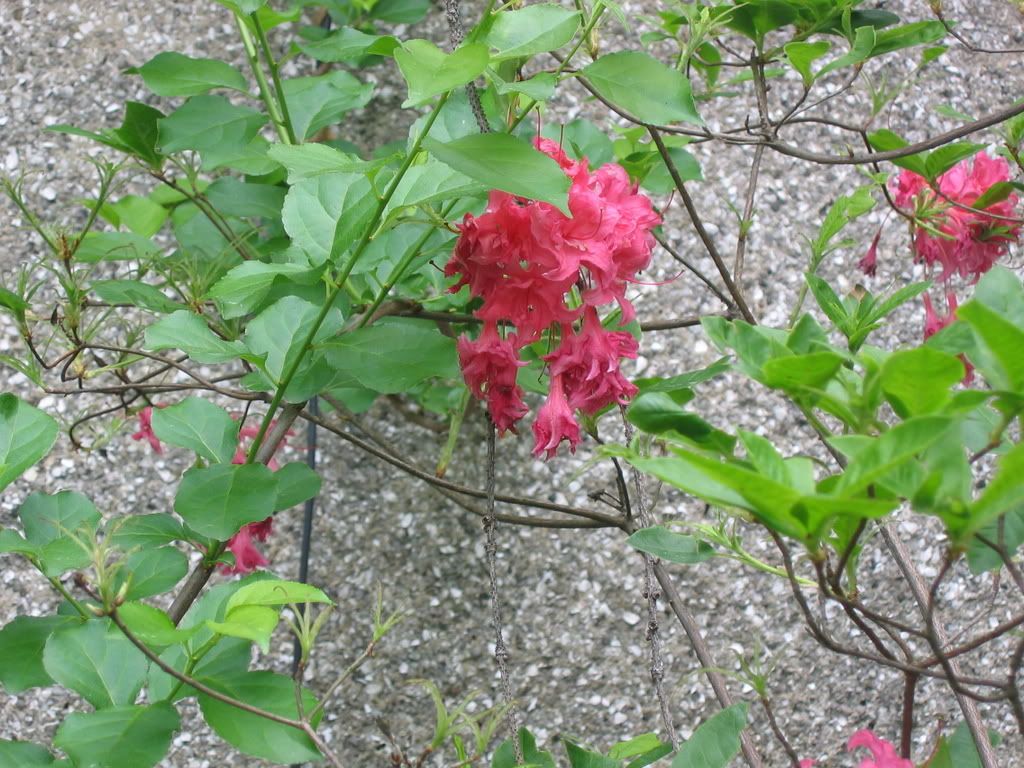
 I couldn't get a good picture but this stuff is all over the yard not sure if it's on purose or if it's weeds.
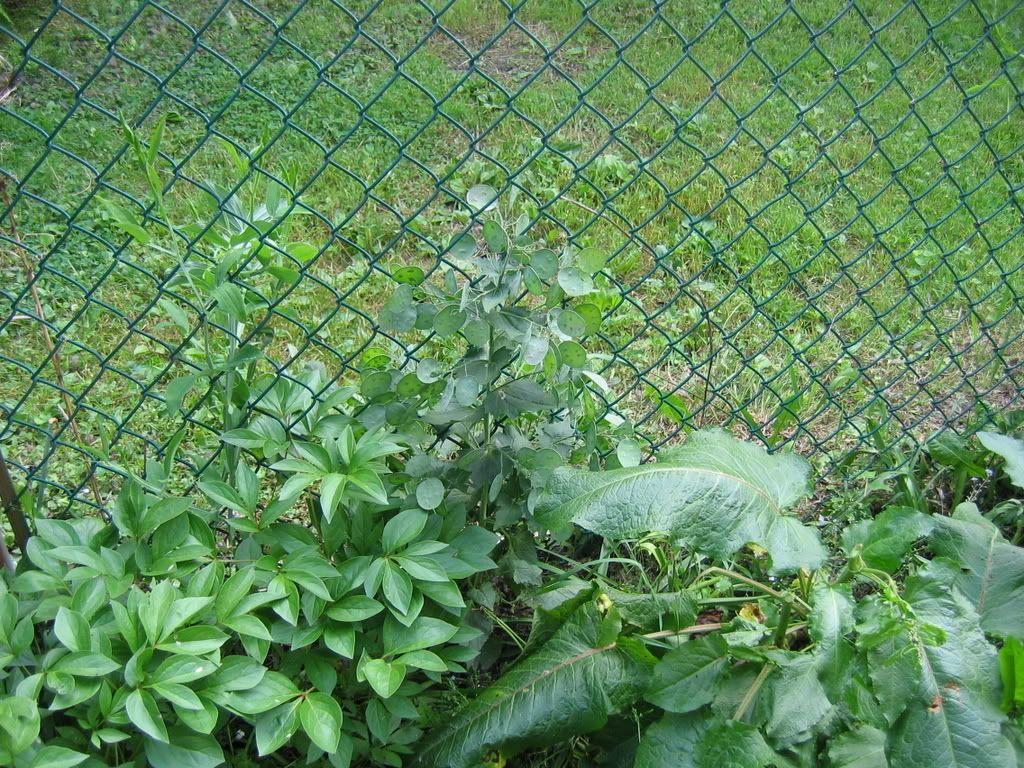
 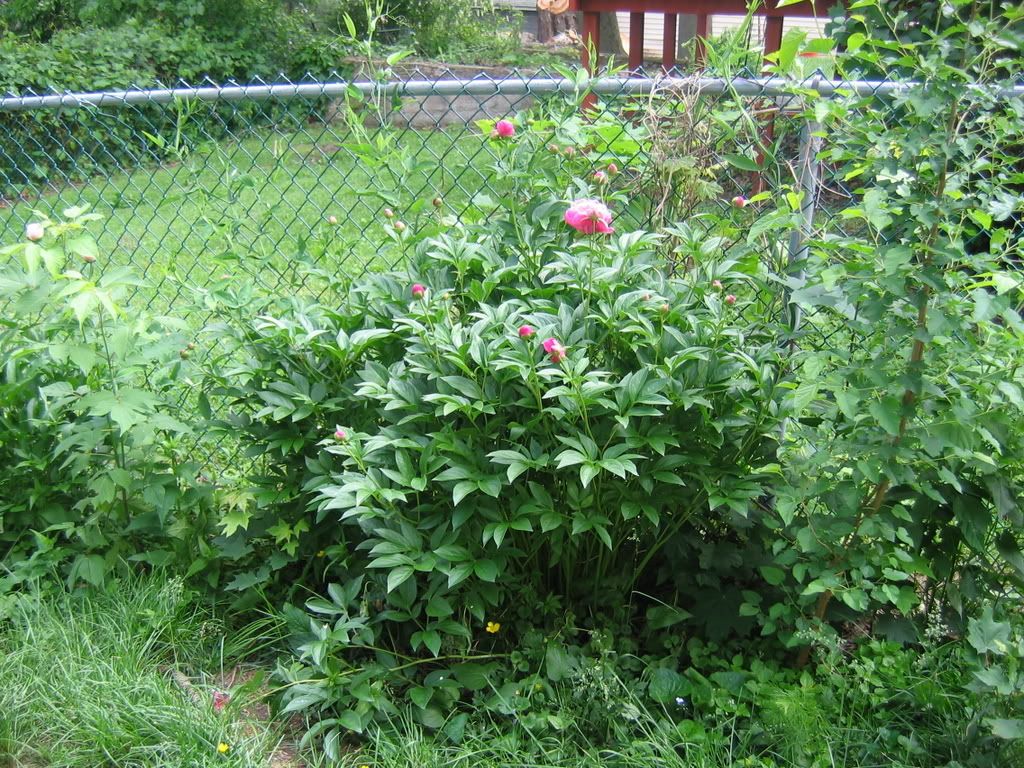 some really over grown peonies on the right side of the house
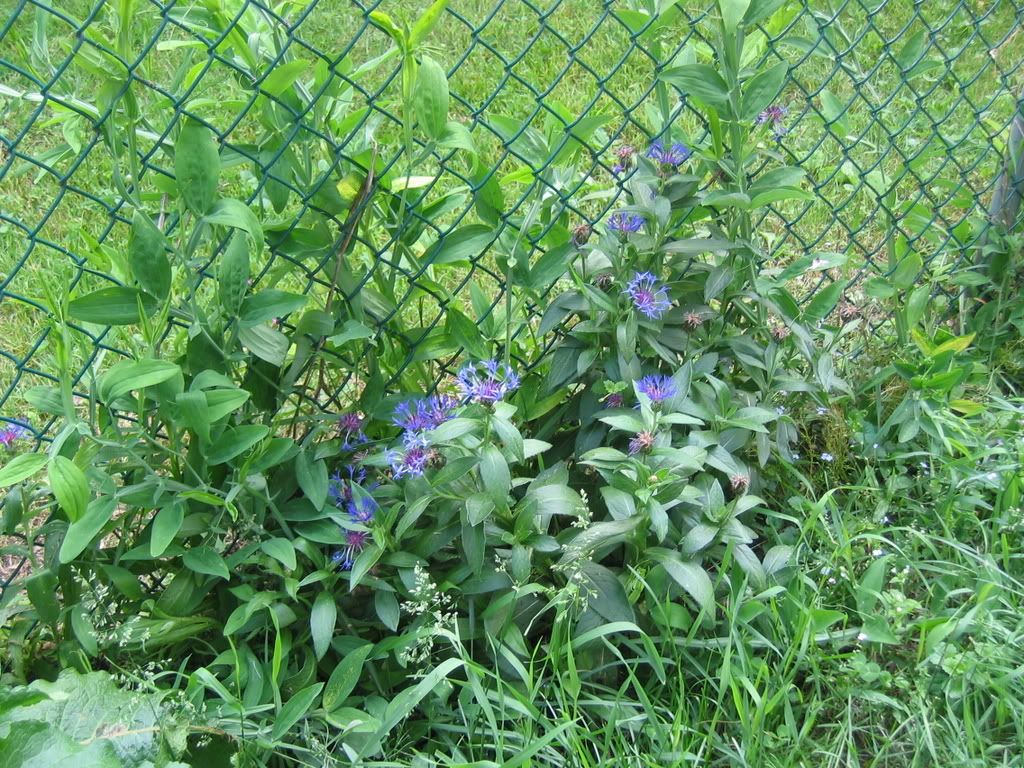 these are what the boys refer to as the 007 flowers
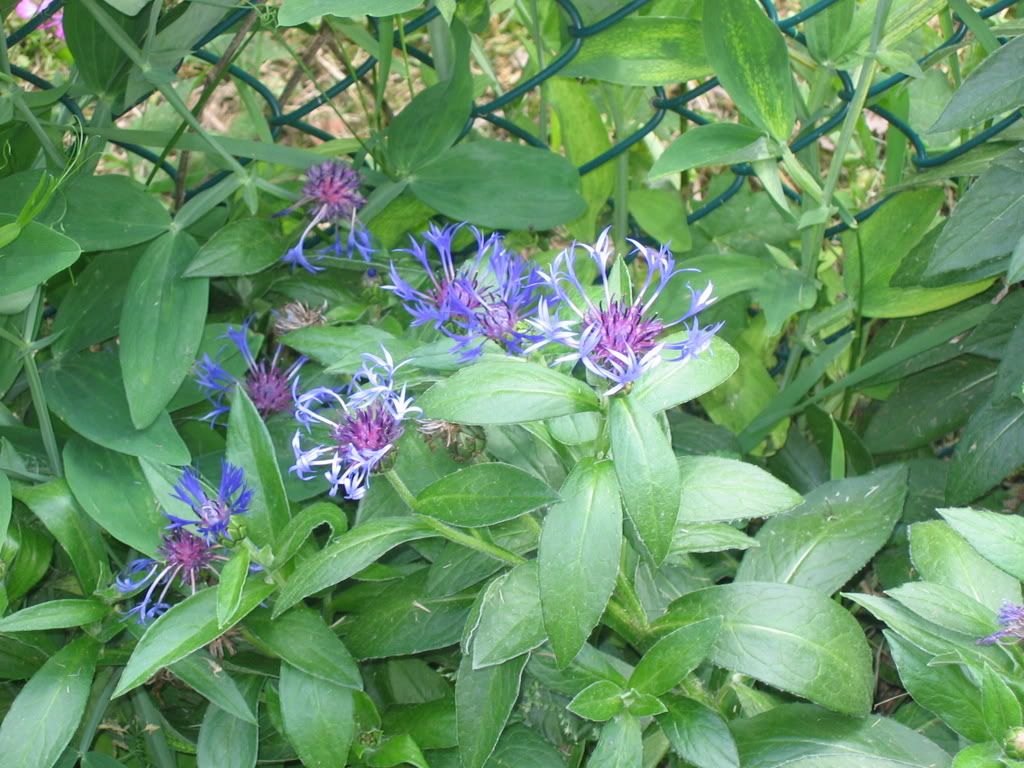 I don't find them really attractive and if someone can identify them as weeds I can rip them out.
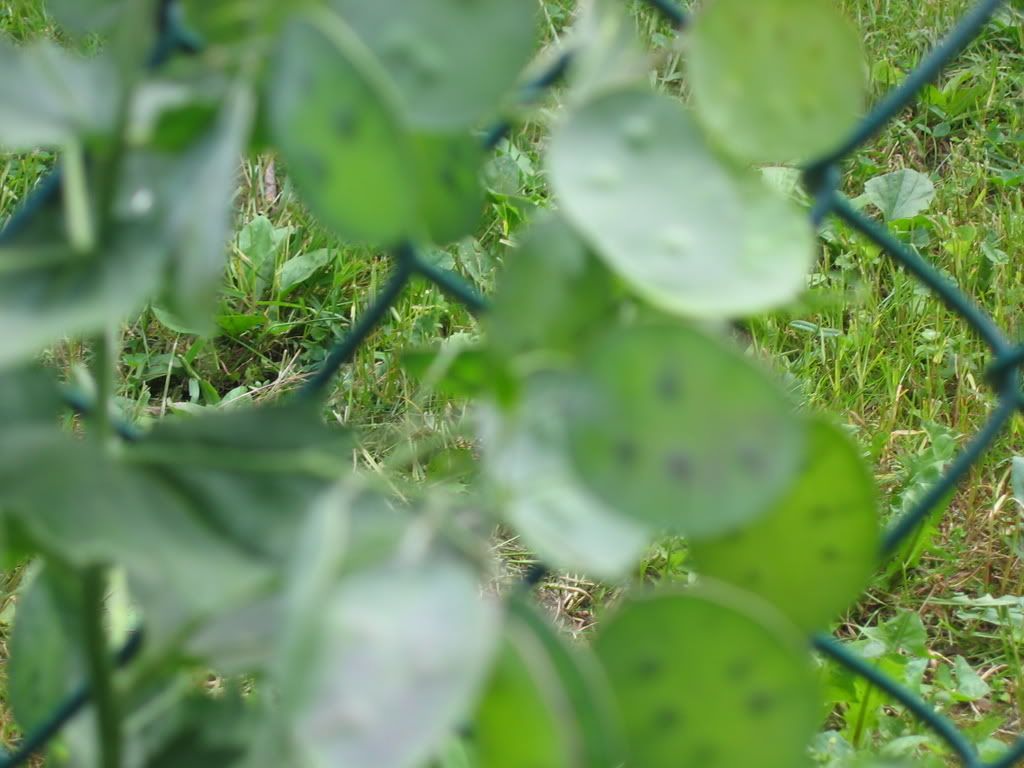

